YAAY! OUR FIRST EPISODE!
AHHH!!! We are so excited to share our first YouTube video for the #GetCraftyPhotographers series. We have to admit, we’re nervous as heck. It’s only a short video, but as photographers (and not video people) I’m sure a lot of you can imagine our steep learning curve for creating our first episode. A huge thank you to Derek for using his comedy, creativity, and video-producing muscles to put this together. Enjoy the first episode! And don’t forget to subscribe. There are more videos in the pipe! Oh, and if you like this, please share with your nerdy friends.
Without further adieu: We present “How to create abstract photography using intentional motion blur.” It’s crazy-easy and you’re gonna love it!
HOW INTENTIONAL CAMERA MOVEMENT IS DONE
If you’re in bright sun you’ll want to have a lens that can narrow down to around F16-F32 so you can reduce your shutter speed to around 1/8-1/15th of a second. I decided to use a Hoya Polarizing filter which cut the light by one full stop, and this allowed me to shoot at around 1/10th of a second at F16 in the mid-afternoon sun.
If you favor working in an auto mode on your camera (such as “P” or “A” “T” or “S”) you’ll want to have it set to shutter priority. If you’re interested in learning a little bit more about how to control your camera in manual mode, I’ve posted a segment from one of my workshops here.
Once you have the setting and exposure the way you want it, just start painting with your camera. It’s easy… but cool heck!
STAGE 2 POLISHING THE IMAGES
As an experimental photography geek, I love incorporating different techniques in my work. I have a preference to try to achieve results with one click. I then use Photoshop or Lightroom to polish the final image. Here is a little video that will show you my post-processing workflow.
PHOTOGRAPHING IN MANUAL MODE
Before you begin watching… a little note about this video: This was recorded during one of my classes and I had previously explained that all of our cameras are set to even our exposures to a perfect middle grey, also known as 18% grey (I know it’s confusing for the middle to be 18%, but that’s what it is). Your camera’s meter is going to always try to even out a scene, whether it’s all dark or all super bright, to be at this middle grey. That’s why if you take a photo of someone with the sun behind them everyone will turn to silhouettes. In this video I start explaining some of these concepts in class, and then I show everyone how to meter with your camera when you’re out in the field.
Also, you don’t need to watch this video if you already know how to photograph in manual mode.
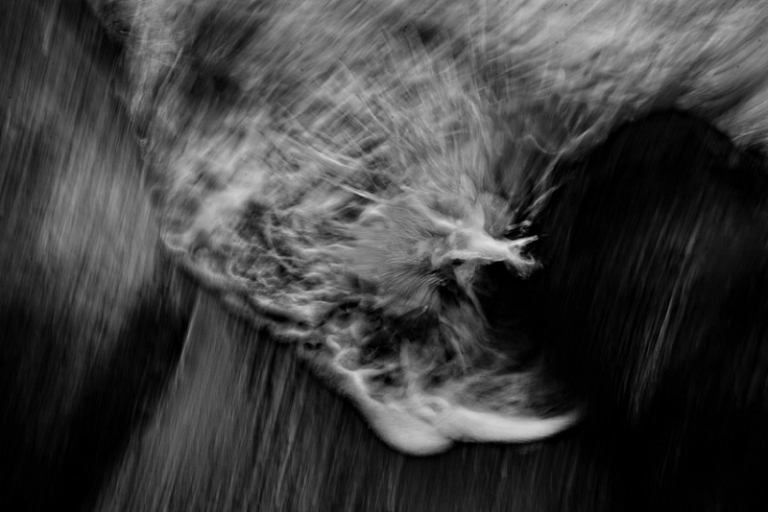
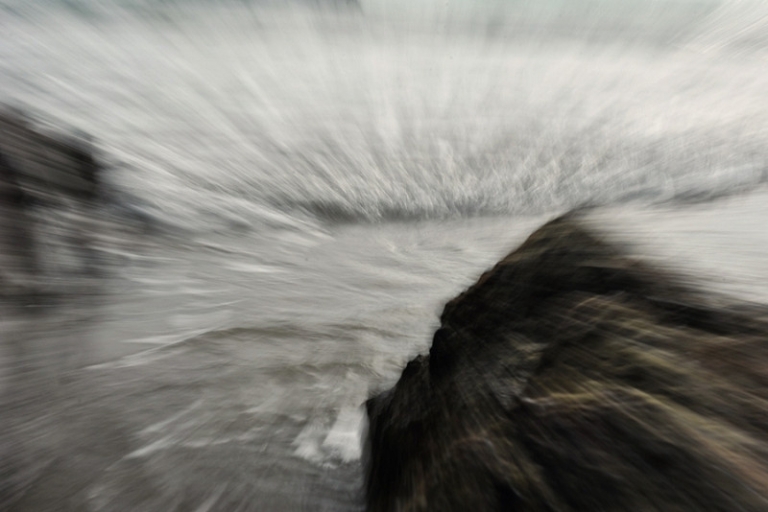
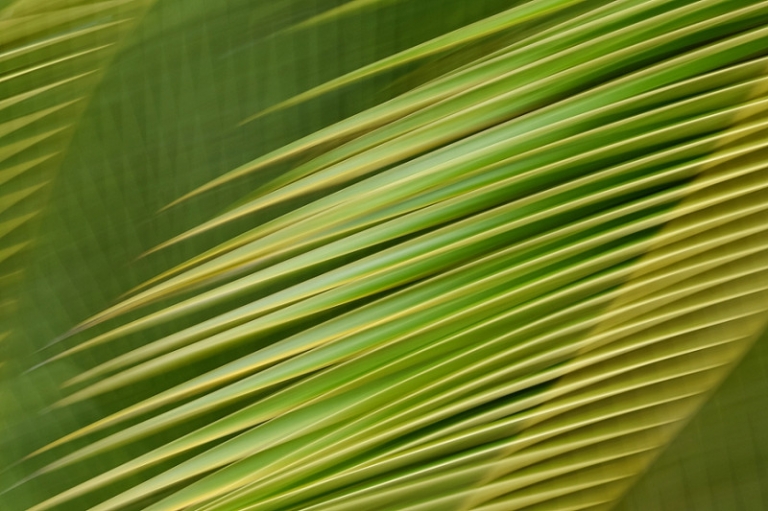
FAVORITES FROM THE SHOOT
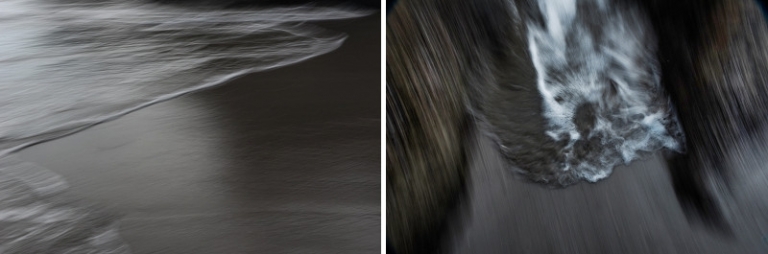
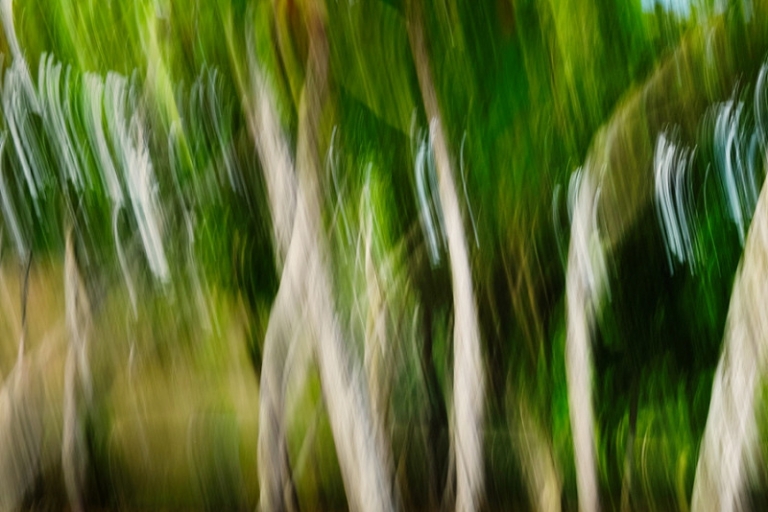
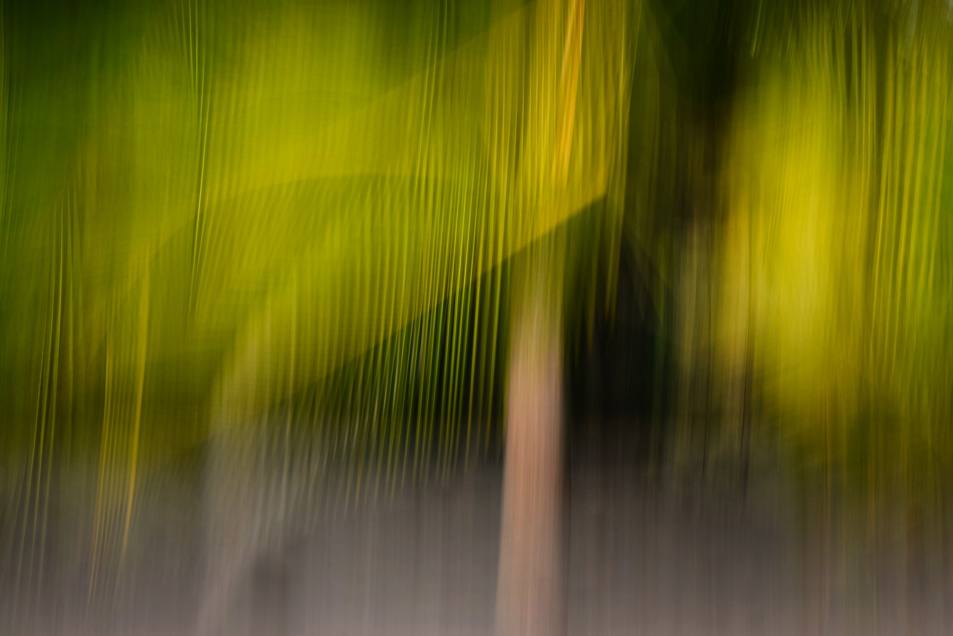
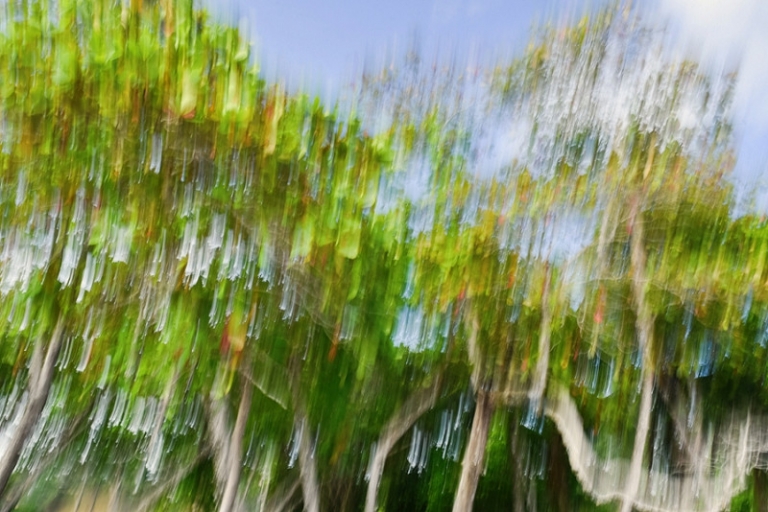
My settings: ISO 50 | 1/10th sec | F16 | Hoya Polarizing Filter
It was full afternoon sun when I photographed these images and I originally thought I’d need to be at least F22 in order to slow my shutter speed to 1/10th of a second. Not so, with the Polarizing filter I was able to cut the light by a full stop and these images were created at F16. Most of our lenses have a sweet spot and usually it’s not F22. It’s usually closer to F8 so I was happy to achieve these results at F16.
I spent about 10 minutes photographing the waves. Because the tide was coming in there was already going to be some motion blur, so I played with both panning and creating a more circular motion with my camera.
When I took photos of the trees, I moved my camera up and down, following the lines of the trunk. I also experimented with zooming in and out quickly to create a more surreal effect.
Products Mentioned: